
Santiago Airport Arrival: Survival Guide for First-Timers
Everything you need to know for a smooth arrival at Santiago Airport: security, baggage, currency exchange, and insider tips for budget travelers.
Arriving at Santiago’s Arturo Merino Benítez International Airport can feel overwhelming, especially if it’s your first time in Chile. In this guide, I’ll walk you through every step: from security checks and baggage rules to currency exchange and navigating the terminals. Whether you’re a solo adventurer or a budget-conscious traveler, you’ll find actionable tips to make your arrival stress-free.
Quick Facts
- Best Time to Visit: March–May (autumn) or September–November (spring) for mild weather
- Daily Budget Range: $60–$120 USD (see breakdown below)
- Recommended Stay: 2–4 days in Santiago before heading to the mountains or Atacama
- Airport Code: SCL
- Distance to City Center: 18 km (11 miles), ~30–45 min by car
1. Pre-Departure: Packing & Security Rules
Hand Luggage:
- Max weight: 12 kg (26 lbs) for LATAM flights
- All liquids, gels, and aerosols: max 100 ml per container, must fit in a transparent bag
- Electronics (laptops, cameras, power banks): keep in hand luggage, NOT checked bags
- Prohibited in checked bags: lithium batteries, old-style thermometers, flammable items
Pro Tip: Buy a transparent zip bag for liquids before you arrive—airport shops charge ~$1 USD (R$5) each.
At Security:
- Separate all liquids, creams, perfumes, and deodorants before the X-ray
- Water bottles: must be empty before security (no disposal bins provided)
- All containers must be labeled with their volume—if the bottle is over 100 ml, it will be confiscated, even if not full
⚠️ Watch Out: Some airports (like Curitiba) strictly enforce the transparent bag rule, even if you’ve flown internationally before without it.
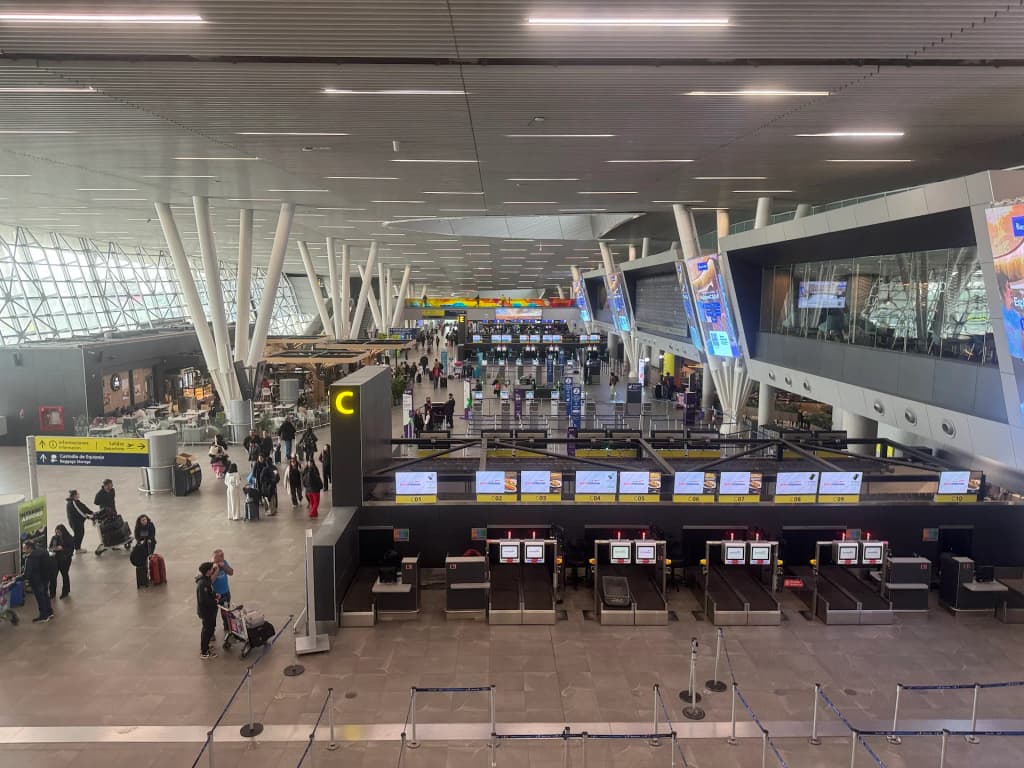
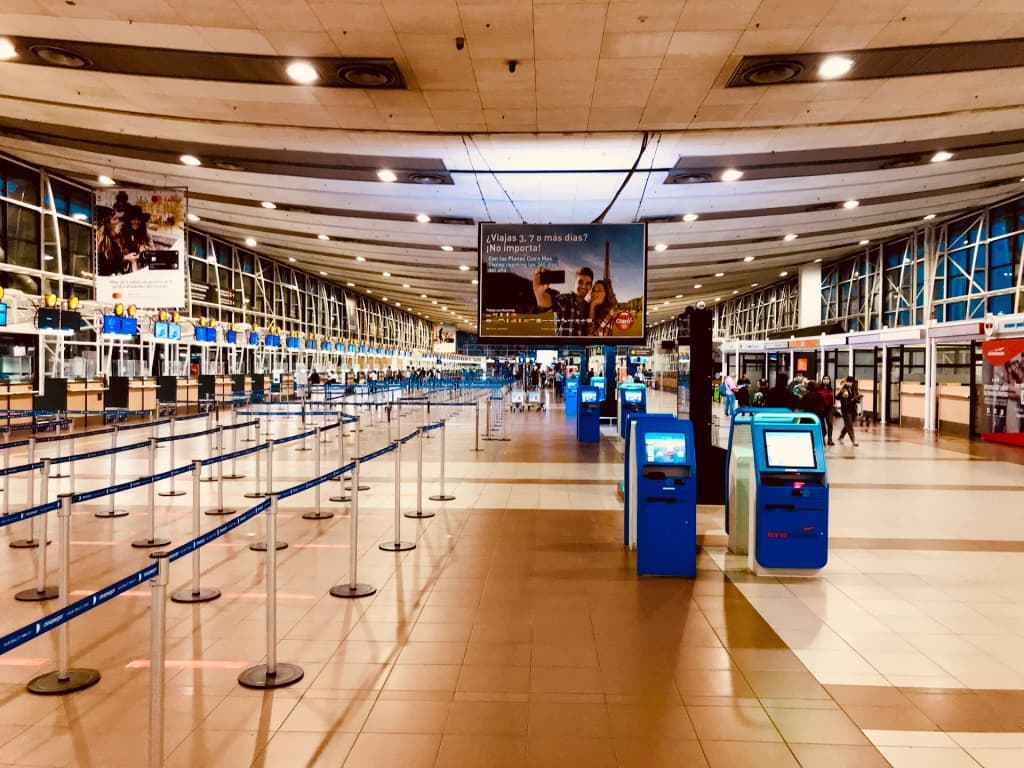
2. Check-In & Baggage: LATAM Experience
- Arrive Early: At least 3 hours before international flights
- Self-Service Kiosks: Print baggage tags before joining the drop-off line
- Checked Bag Allowance: Usually included for international LATAM flights; confirm your fare
- Upgrade Surprises: Sometimes, you’ll be moved forward in the cabin if seats are available (no extra charge)
Pro Tip: Even if you only have hand luggage, you can often check it for free on LATAM international flights—less to carry, more comfort.
3. Onboard LATAM: What to Expect
- Aircraft: Airbus A320 (common for regional flights)
- Seat Comfort: Good legroom, especially in forward rows
- Entertainment: No seatback screens, but streaming available via LATAM Play app (bring your own headphones)
- Meal: Light snack (e.g., turkey and cheese sandwich, cake, chocolate, soft drink or tea)
- Flight Time: Curitiba to Santiago: ~3h 20min
4. Arrival in Santiago: Immigration & Customs
- Immigration:
- Be ready to state your hotel name and show your boarding pass
- Receive a PDI slip—keep it with your passport; you’ll need it to exit Chile
- SAG Declaration:
- Complete online (QR codes available in the airport)
- Questions about bringing in animal/plant products
Pro Tip: Fill out the SAG form online before arrival to save time at customs.
5. Currency Exchange & ATMs
- Airport Exchange Booths: Convenient but offer poor rates (up to 15% worse than Wise or N26 cards)
- ATMs: Multiple Santander machines in Terminal 1; max withdrawal: 200,000 CLP (~$210 USD)
- Best Practice: Use a Wise or N26 card for ATM withdrawals—fees are lower, and rates are better than airport exchange
Pro Tip: Withdraw the maximum allowed to dilute ATM fees. Always carry some cash for taxis and small shops.
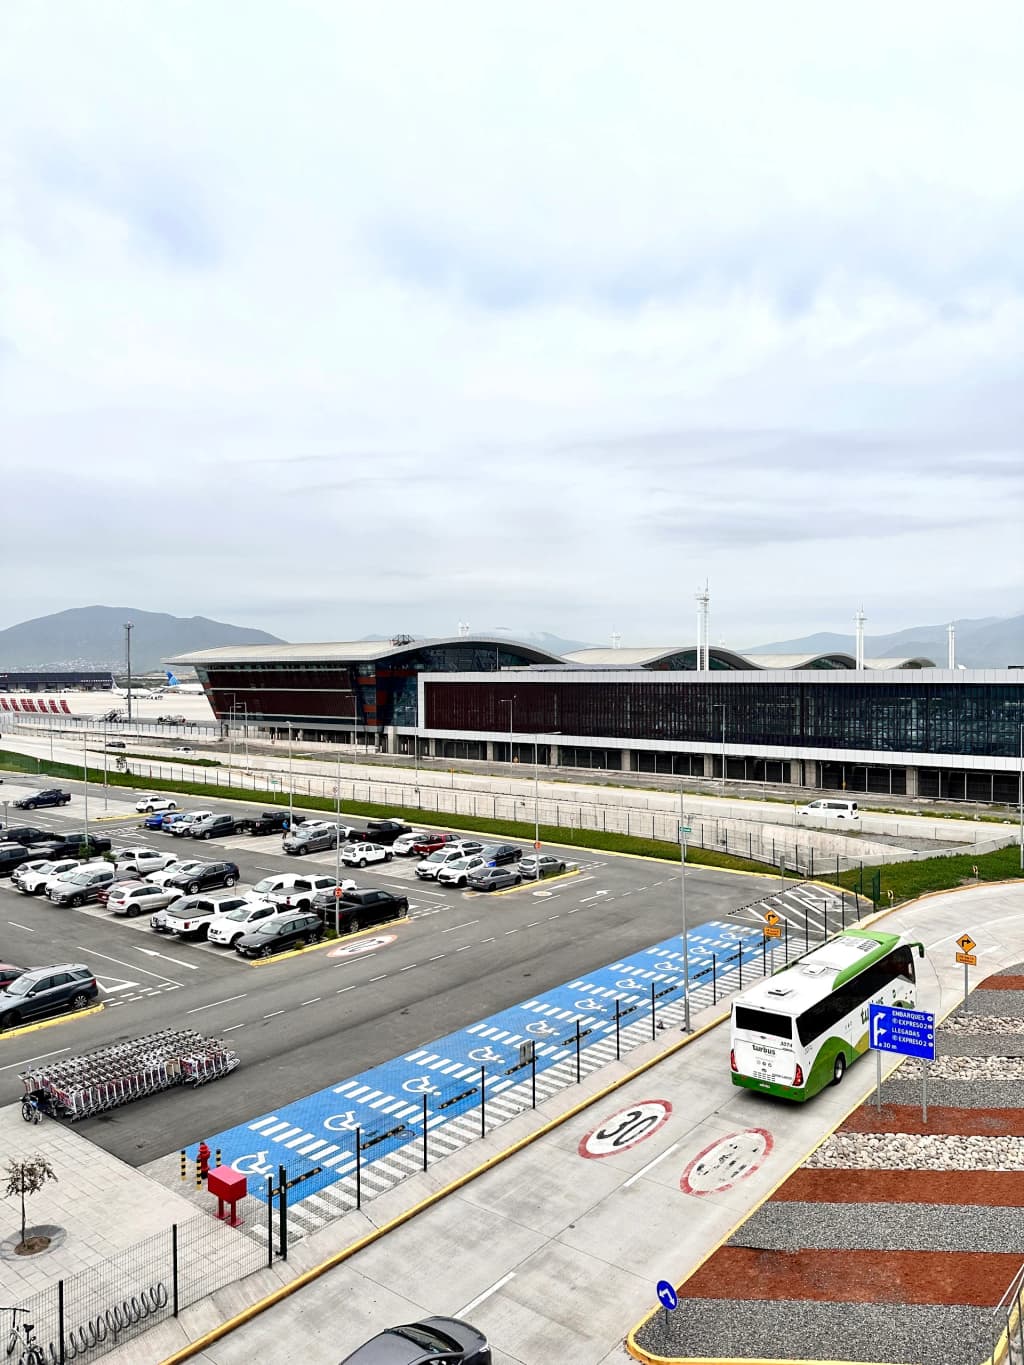
6. Getting from the Airport to Santiago
- Taxi: $25–$35 USD, 30–45 min
- Official Shuttle: $10–$15 USD per person, 45–60 min
- Bus + Metro: $2–$4 USD, 60–75 min (budget option)
- Uber/Cabify: $20–$30 USD, 30–45 min (download app in advance)
Pro Tip: Ignore unofficial taxi offers in the arrivals hall—use official counters or apps only.
7. Domestic Connections: Terminal Transfer
- Domestic Terminal: Located a long walk from international arrivals (follow signs, use moving walkways)
- Allow Extra Time: 15–20 min walk, plus security re-check
- Checked Bags: You may need to re-check bags for domestic flights
Common Mistakes to Avoid
- Forgetting the 100 ml liquid rule: Even half-full bottles over 100 ml will be confiscated
- Not using a transparent bag for liquids: Some airports strictly enforce this
- Exchanging too much money at airport booths: Rates are poor—use ATMs or digital banks
- Losing your PDI slip: You must present it when leaving Chile
- Accepting rides from unofficial taxis: Always use official counters or apps
- Underestimating terminal transfer time: Especially for tight domestic connections
Next Steps: Plan Your Santiago Adventure
- Download the Wise or N26 app and order your card before your trip
- Pack a transparent bag for liquids and double-check your electronics
- Research your airport transfer options and book in advance if possible
- Allow extra time for security and terminal transfers
With these steps, you’ll breeze through Santiago Airport and start your Chilean adventure on the right foot. Safe travels!
More Photos
More Adventures
 $60 - $200/day 4-7 days
 Between the Andes and the Ocean: Unraveling Santiago
Experience the striking contrasts of Santiago, Chile. Discover historic dive bars, the soaring Andes in Cajón del Maipo, and the colorful hills of Valparaíso.
 $120 - $250/day 1-2 days
 Hack the Alps: Milan to St. Moritz Day Trip on a Budget
Discover how to travel from Milan to St. Moritz on a budget. Skip the Bernina Express, take the regional train, and experience the Swiss Alps like a pro.
 $40 - $80/day 2-4 days
 Boa Vista: Exploring the Amazon's Fan-Shaped Frontier City
Experience the unexpected beauty of Boa Vista, Roraima. Discover Macuxi indigenous crafts, the unique Lavrado biome, and sunset boat tours on the Rio Branco.
 $75 - $250/day 7-14 days
 The Ultimate Month-by-Month International Travel Guide
Stop gambling with your PTO. Discover the exact best (and worst) international destinations for every month of the year to optimize budget and weather.